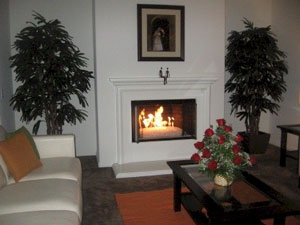
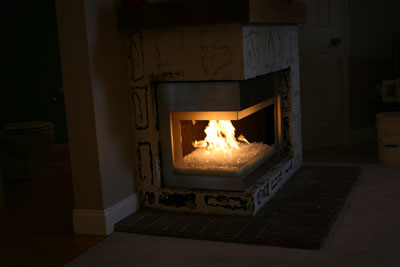
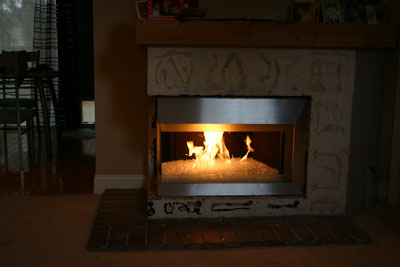
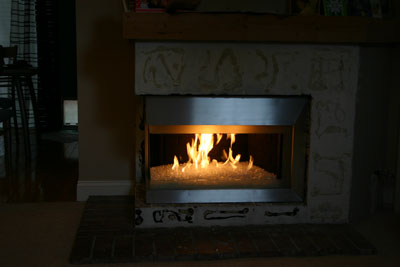
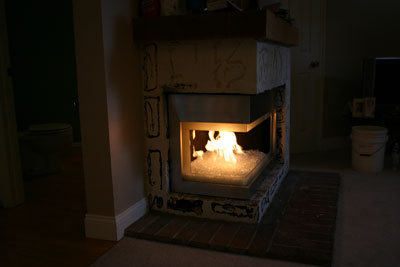
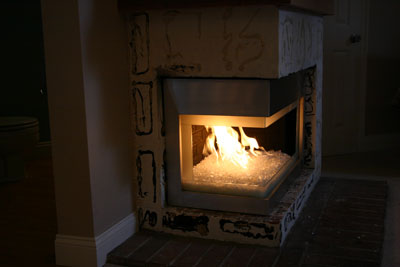
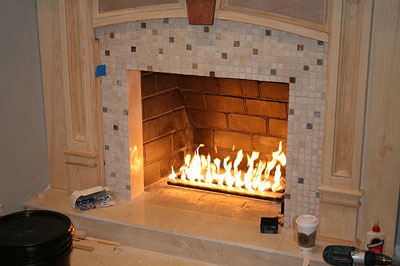
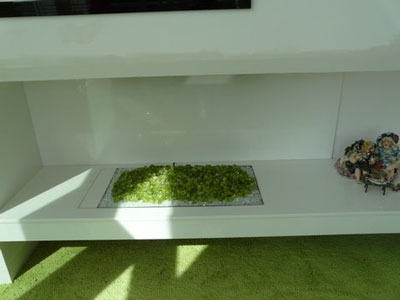
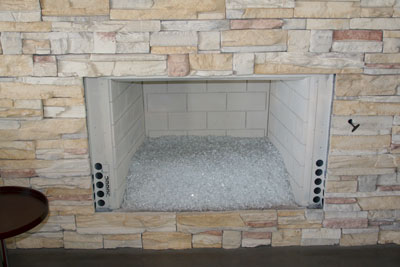
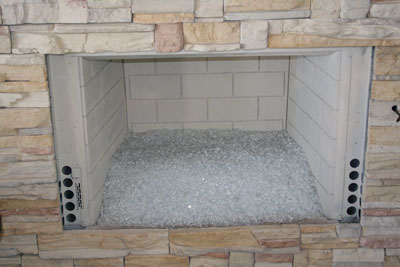
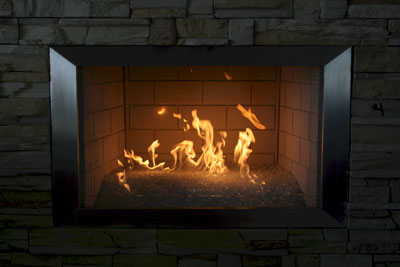
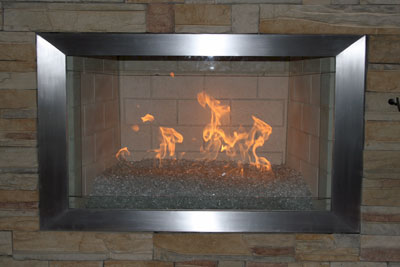
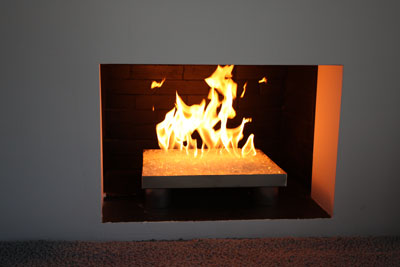
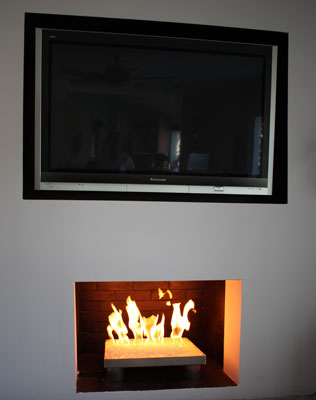
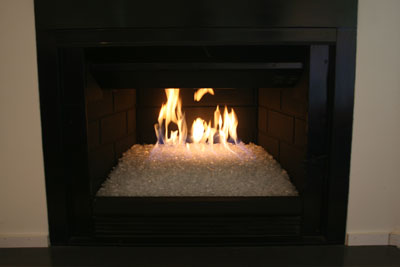
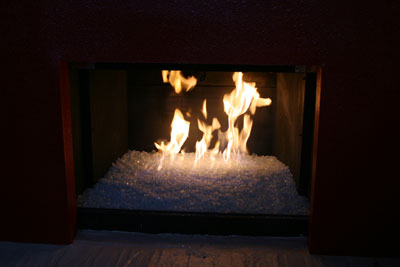
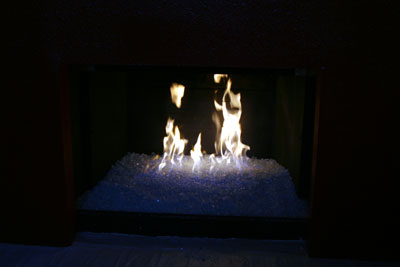
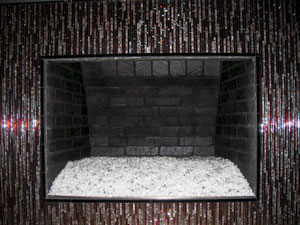
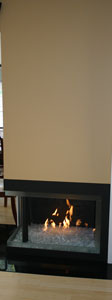
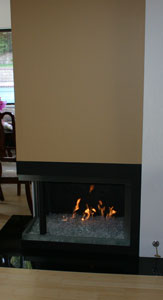
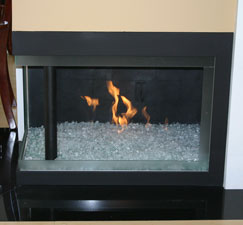
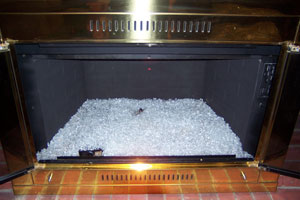
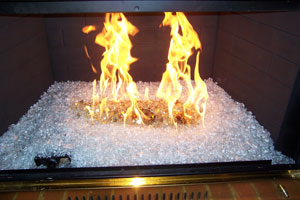
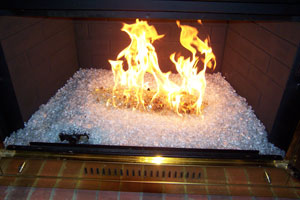
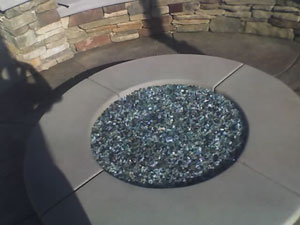
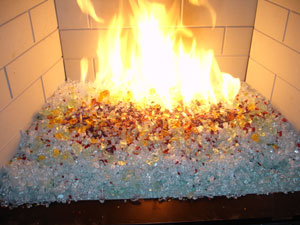
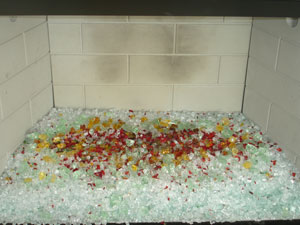
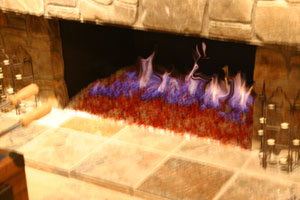
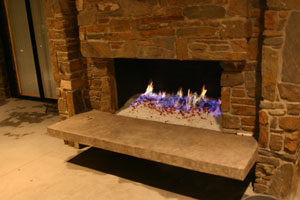
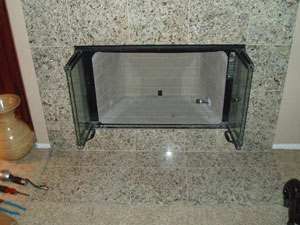
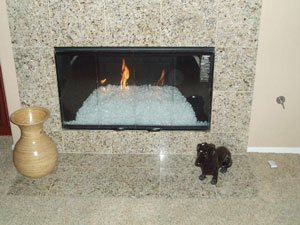
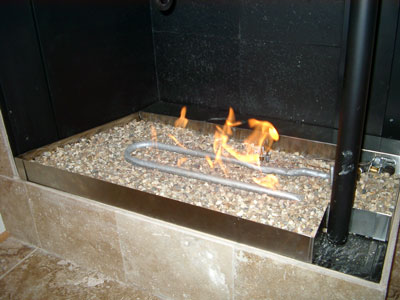
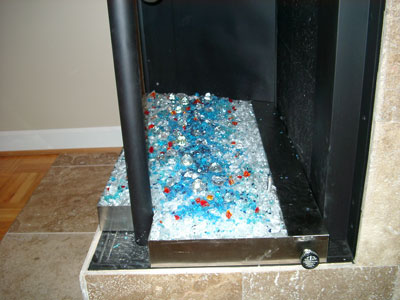
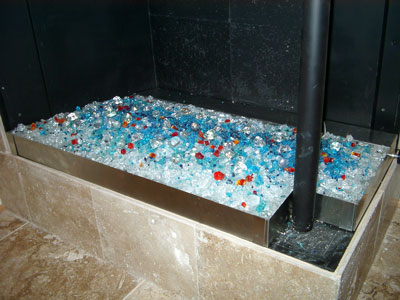
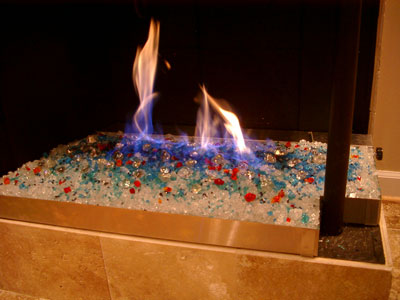
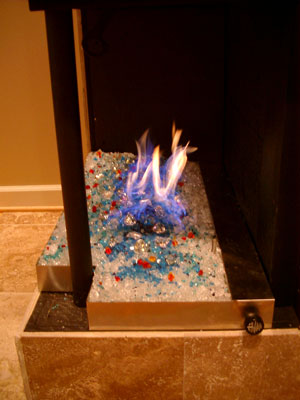
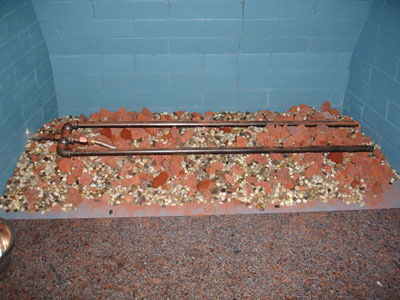
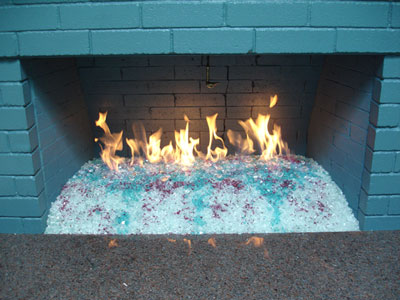
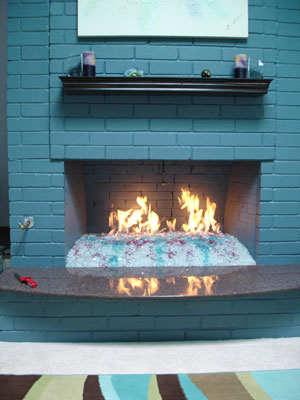
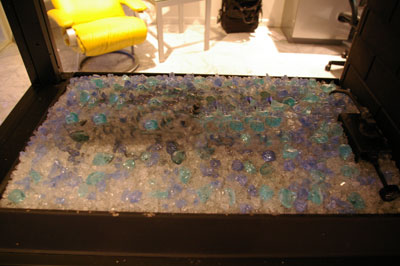
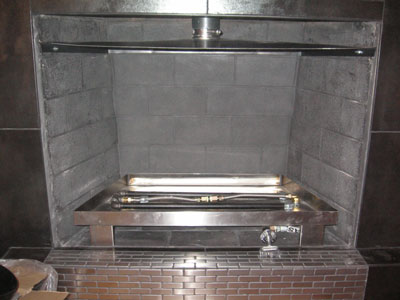
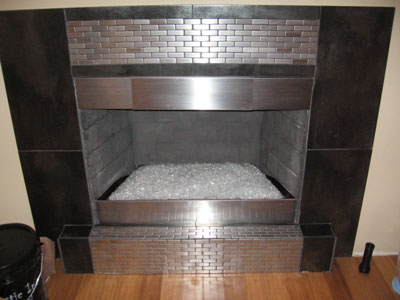
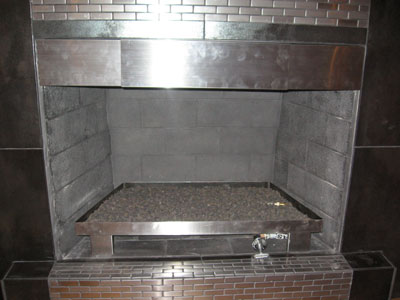
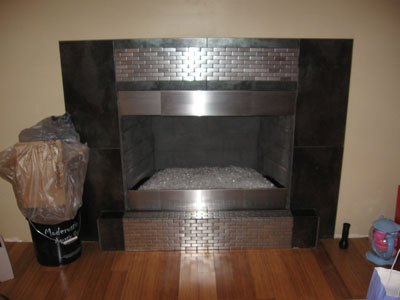
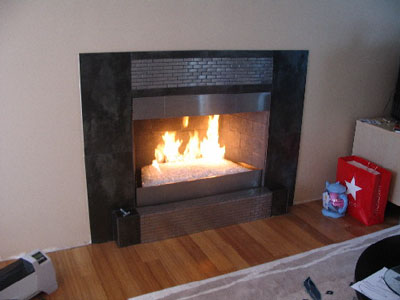
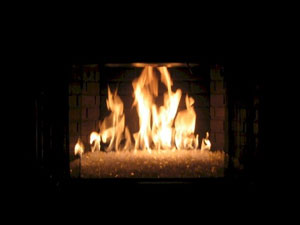
The fireplace below is in Pasadena California. this is a before and after with a 2" base of crushed lava as a filler with Starfire Base Glass on top with a double 24" burner installed. We are next installing one of our surrounds.
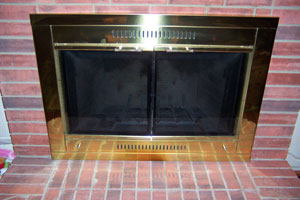
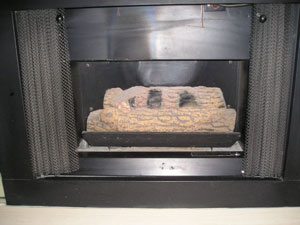
Looks nice? Huh? NOT! Again, has anyone ever told you nice logs? I don't think so.
I would really not like being a log manufacture as they really produce some ugly products, in my opinion. But you decide for yourself.
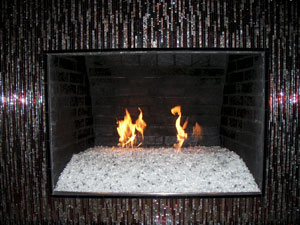
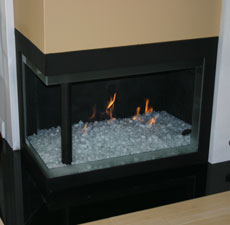
Below we have installed the burner on top of the lava rock filler.
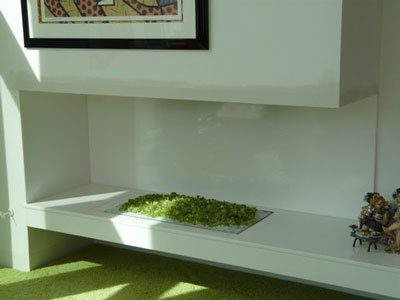
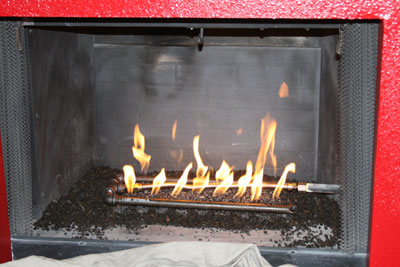
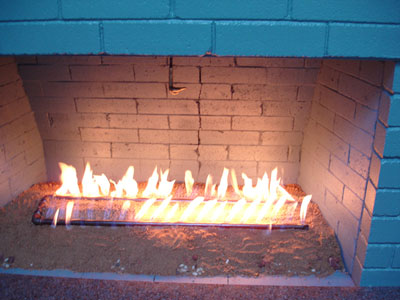
Now test the burner to insure the flames don't hit the back wall as this will scorch the walls.
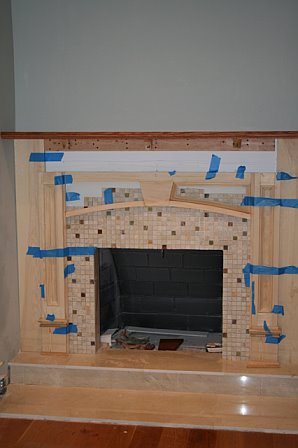
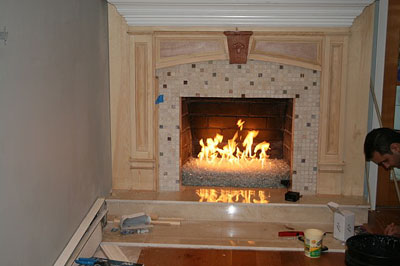
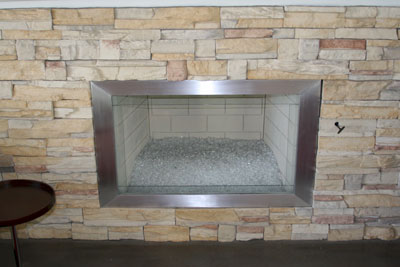
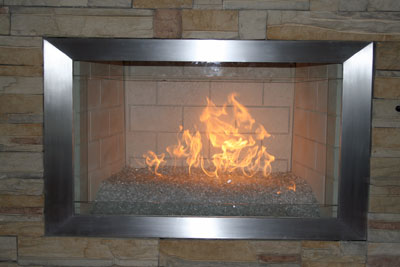
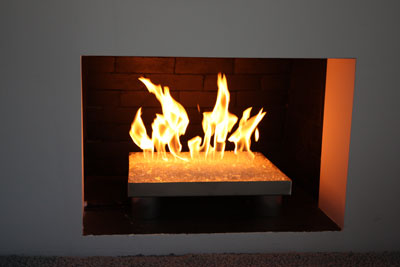
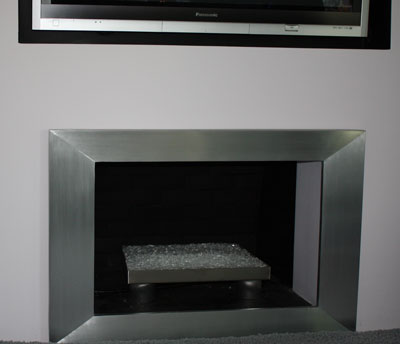
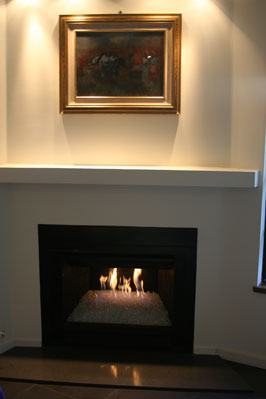
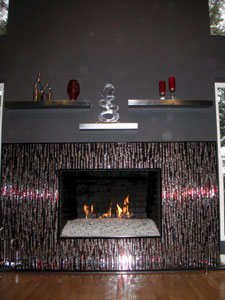
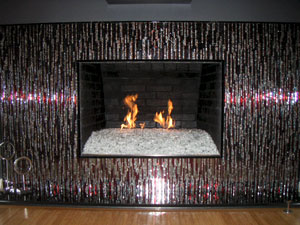
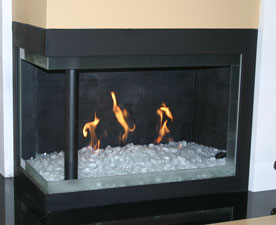
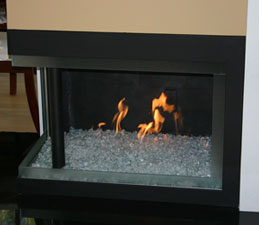
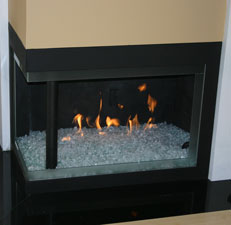
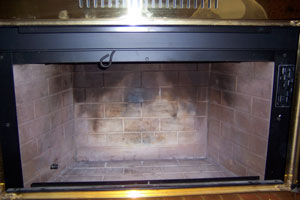
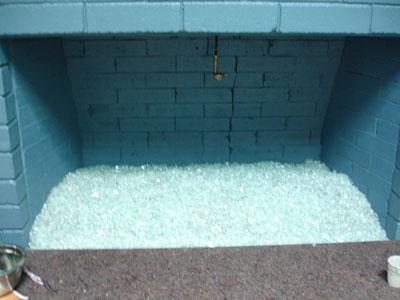
Now this is nice! Now we will install a surround. Most everyone tells us "Nice Glass"!
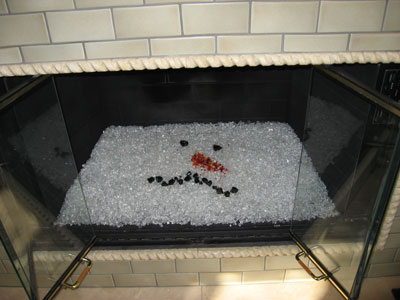
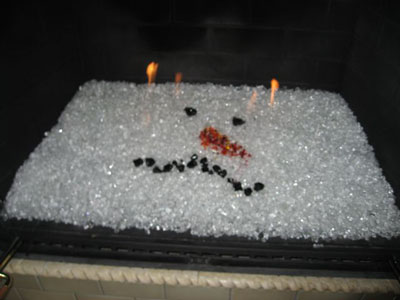
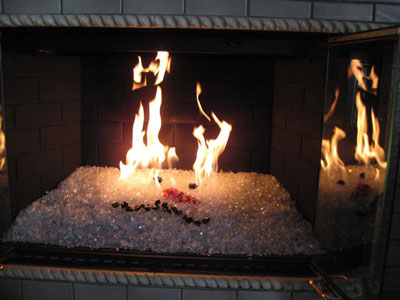
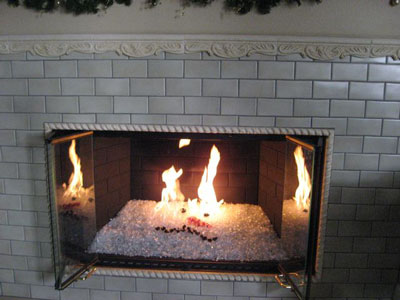
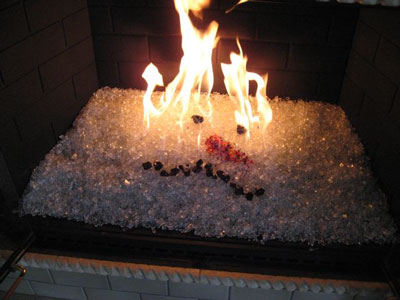
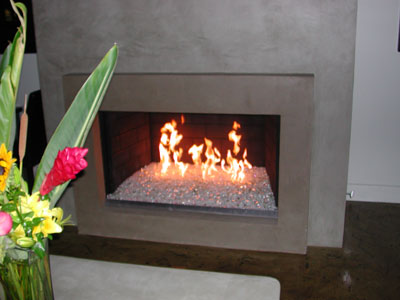
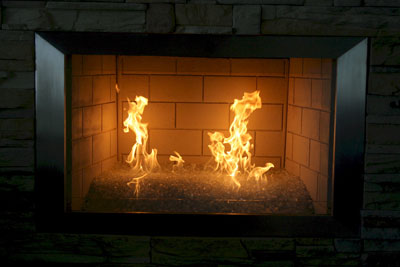
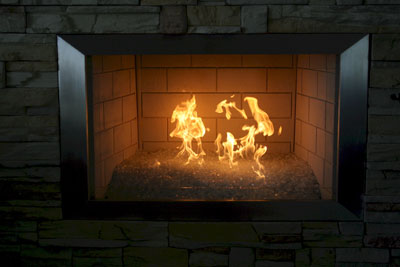
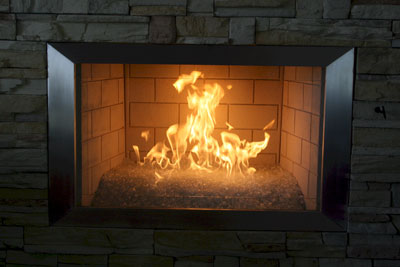
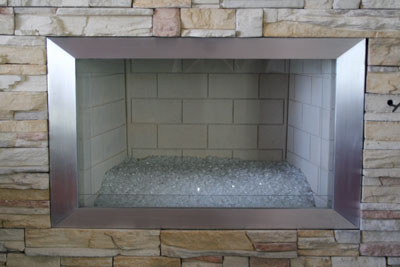
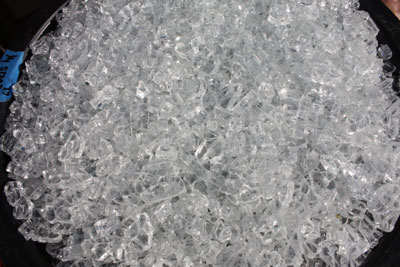
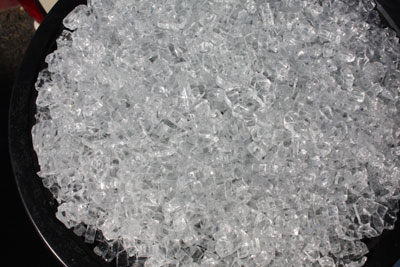
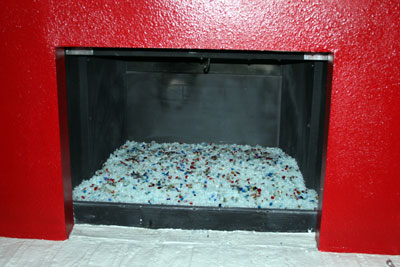
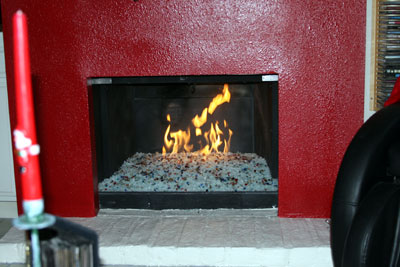
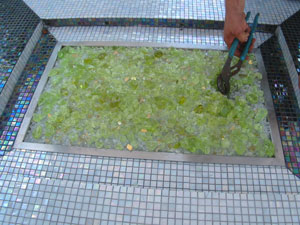
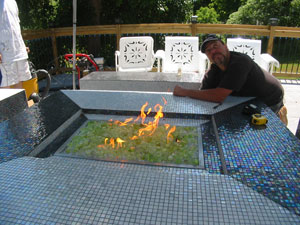
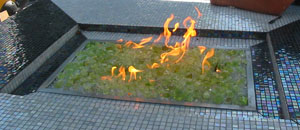
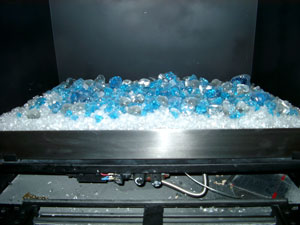
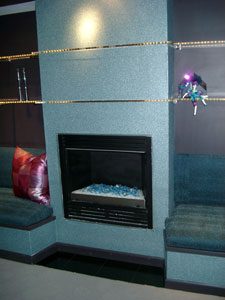
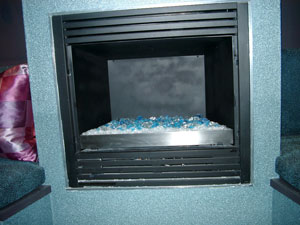
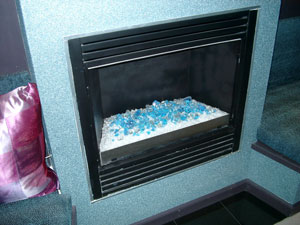
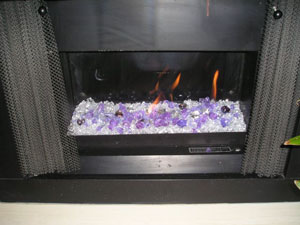
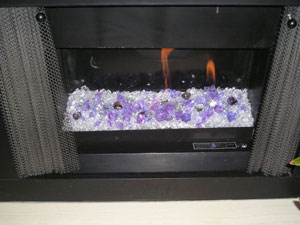
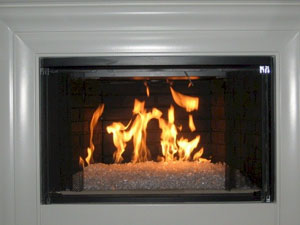
The fireplace below was installed in Palm Springs, California. The base glass is Starfire Base Glass and then we topped it with 1 lb of Pirates Topper.
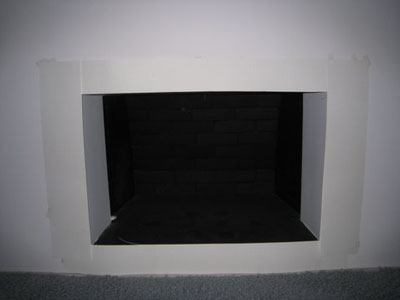
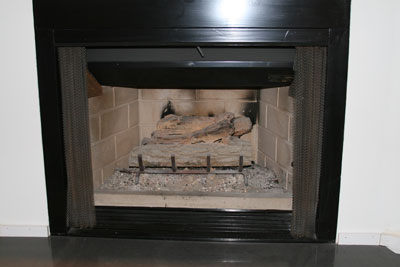
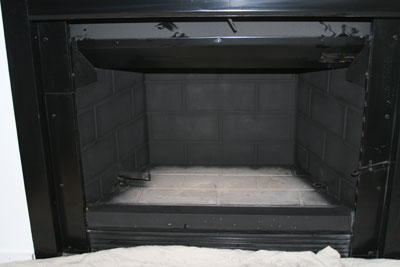
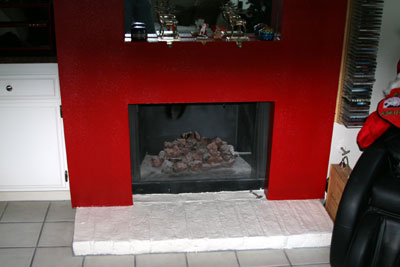
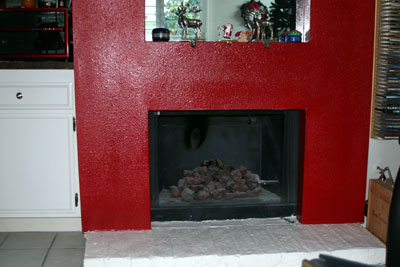
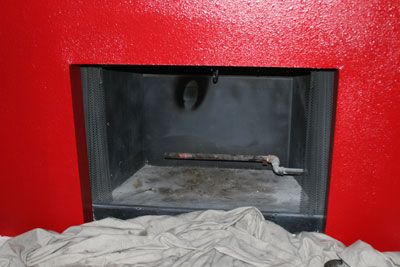
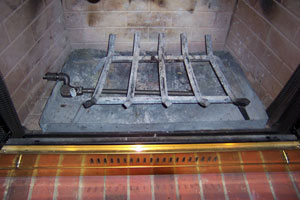
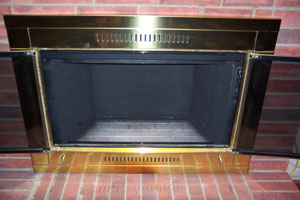
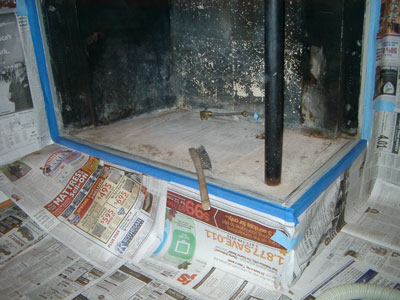
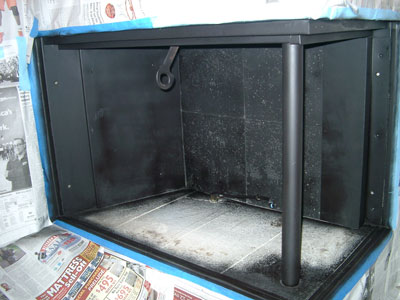
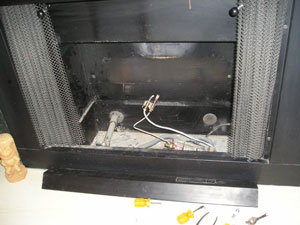
This is a typical fireplace but this one has lava rock stacked up inside, yuck!
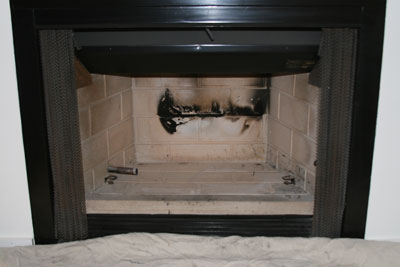
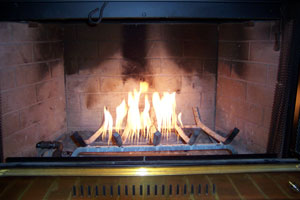
Below you can see the flame hitting the back wall creating a soot mark, not very nice looking. The customer didn't want the fireplace painted, why?
There's that soot mark! If you do paint make sure the work is not spotty! That looks nasty as well.
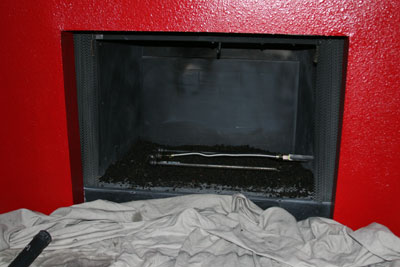
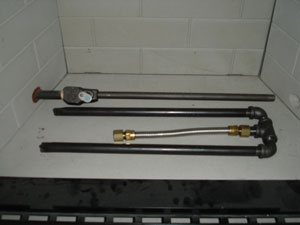
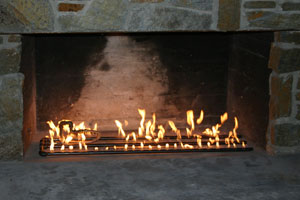
Above you see the typical hard piped burner installed which is fine for logs or lava. But this does not really work well for glass.
Below you see the double burner installed with an 18" flex line.
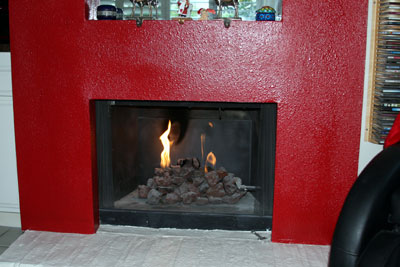
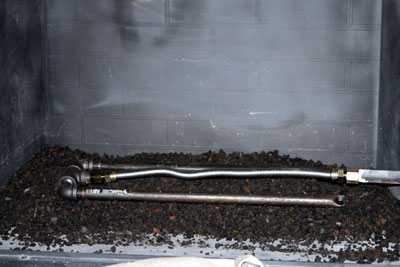
Test the burner and pour the glass, now it looks nice except for the soot mark!
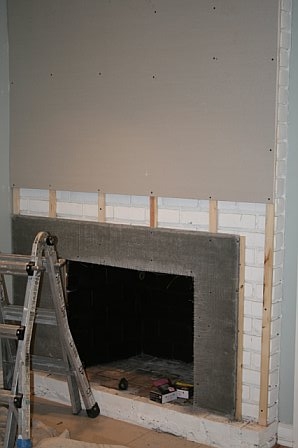
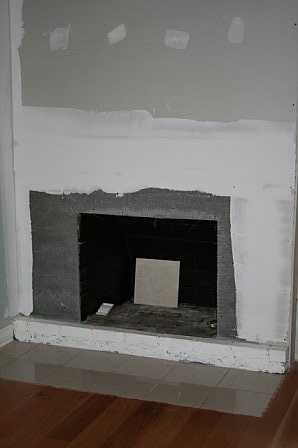
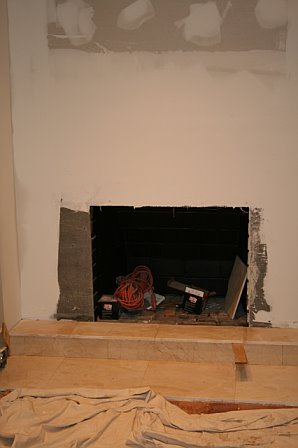
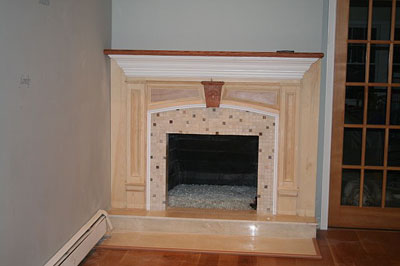
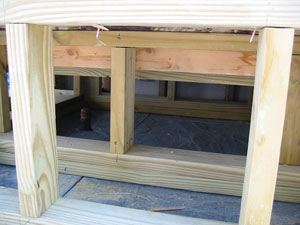
We also floated the walls to level the fireplace and get it ready for the surround.
A little bit of granite on the floor
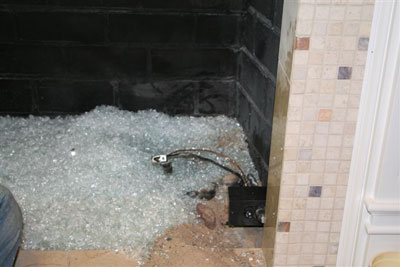
If you notice to the right there is no valve to turn it on? The plumber from a few years ago has it to the right about 5 feet, DUMMY! Lets fill the fireplace with gas before we get there and see what happens! Don't hire that plumber.
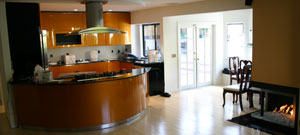
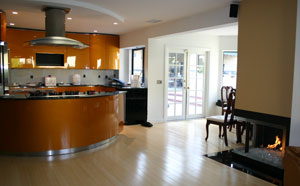
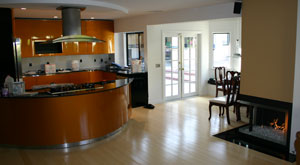
We are now going to do an extended 3/4" glass radius counter in the kitchen in front of the stove for a glass counter top.
We also bent all of the kitchen handles to contour the cabinets.
Now you can see the fireplace valve to the right.
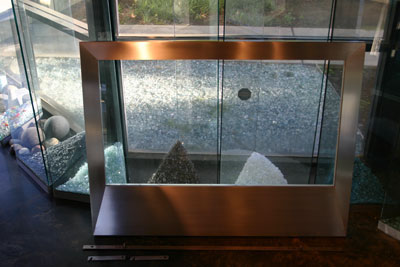
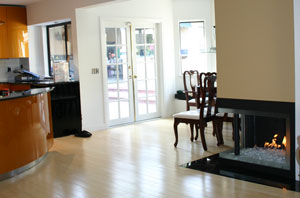
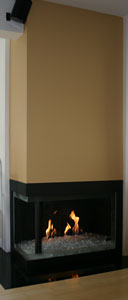
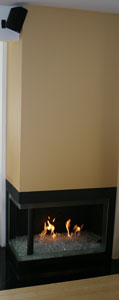
We flush fit a surround to the wall for a final finish. This was a satin black aluminum frame with 2" of glass installed
We are capable of any size project from design to a full installation (depending on our current work load). There is nothing we can't do as we are the the first and foremost authority in our field. We never say NO! We do only what the other companies can only dream about!
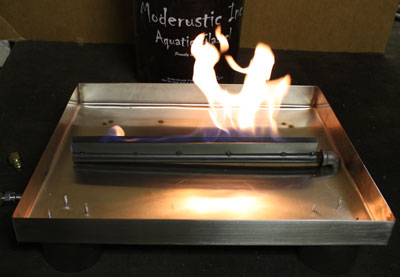
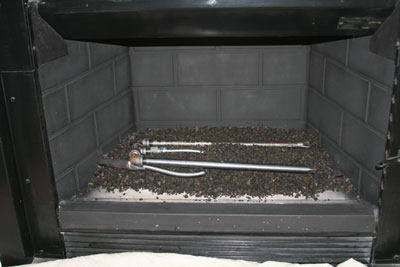
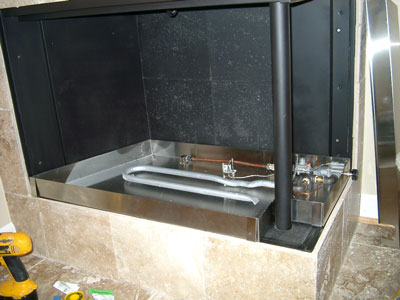
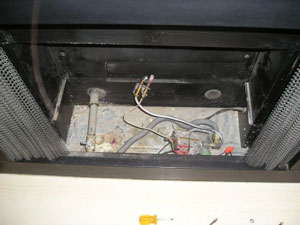
Above we have the old burner with a smaller flame pattern which we will change to a double burner in our tray propane pan burner
A little bit of cleaning with a wire brush and 1200 degree paint
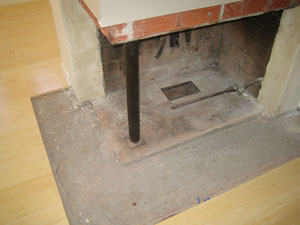
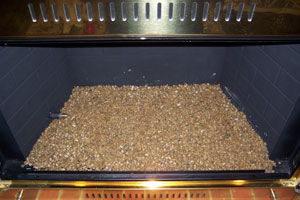
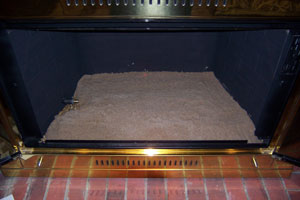
We filled the bottom with pea gravel and the covered it with sand
Then we installed the propane burner and filler it with pea gravel to the top of the burners
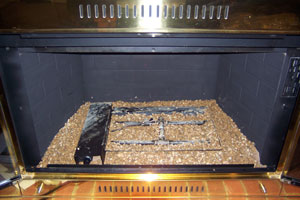
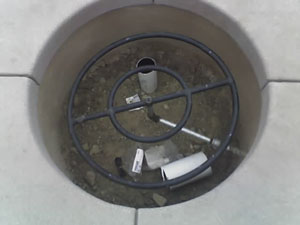
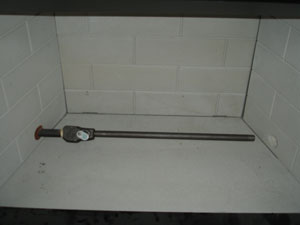
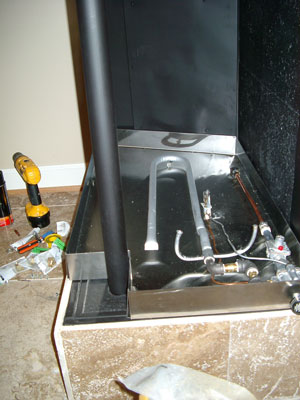
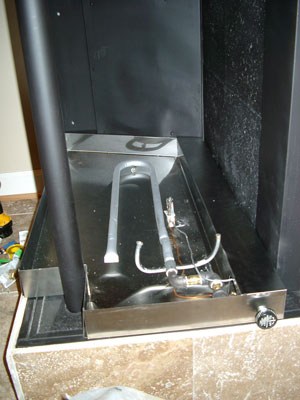
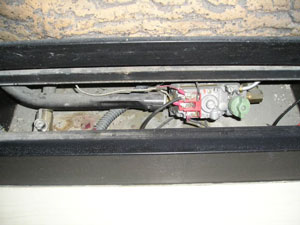
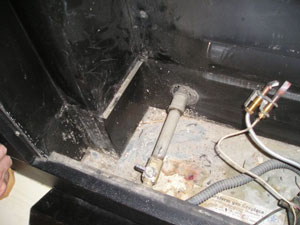
You can see the pilot light and thermocouple exposed
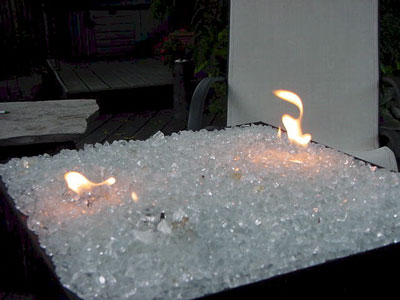
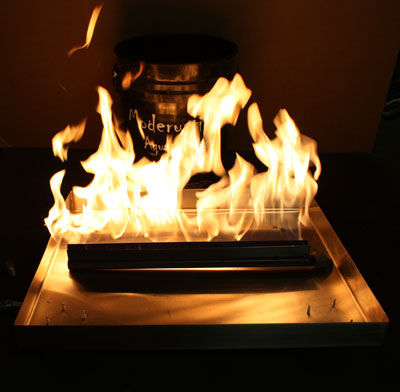
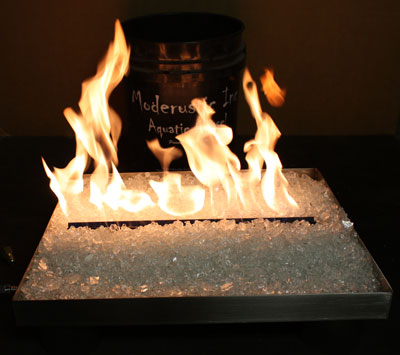
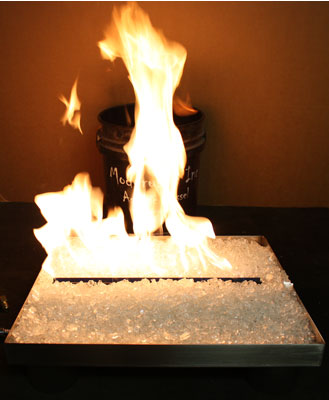
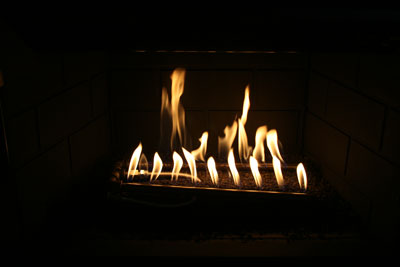
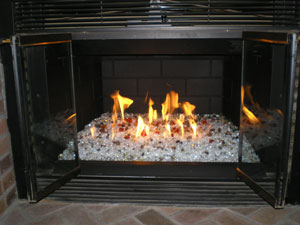
So there it is. A clean burning propane burner, 2" method, no soot, no smells, no carbon monoxide and it puts out a tremendous amount of heat. We sell the 2" method because it works and if anyone tries to tell you different, they need your money more than you do. We are the only company building propane burners for glass that don't soot or smell!
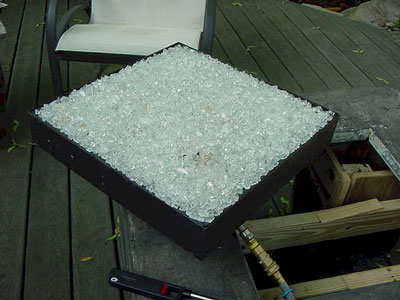
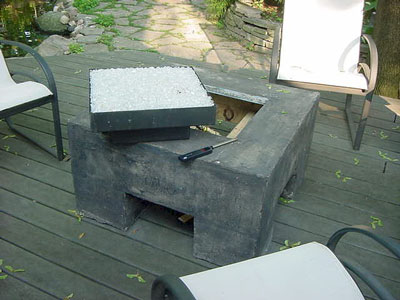
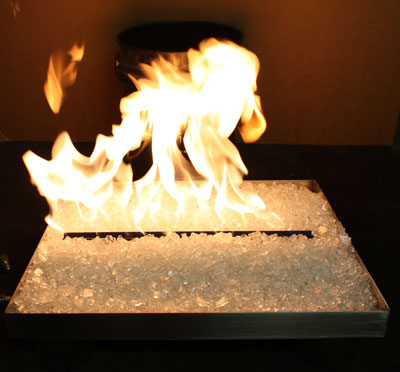
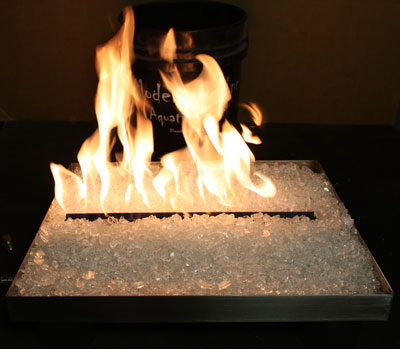
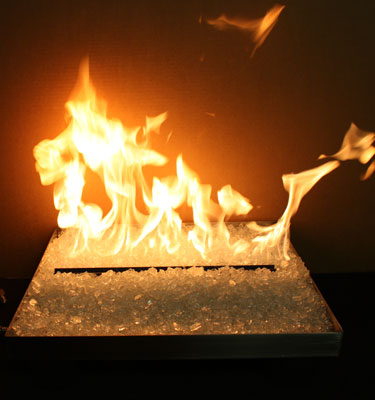
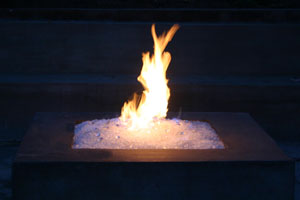
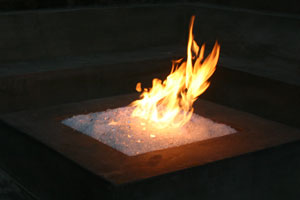
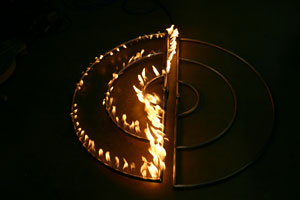
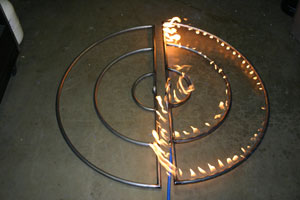
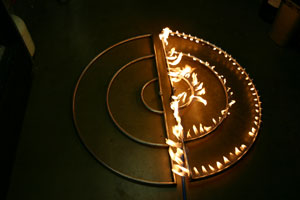
The fire pit/ table is at the Roxbury Hotel and we will show you the progress here from beginning to end. This was a propane installation with our FPPK burner. The colors used were:
We use a piece of stainless steel in the front to contain the glass to cover the burners and keep the glass level.
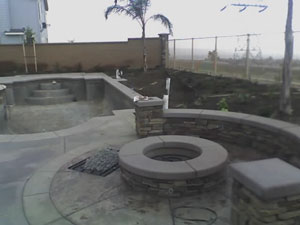
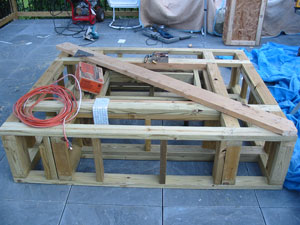
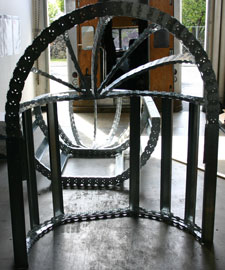
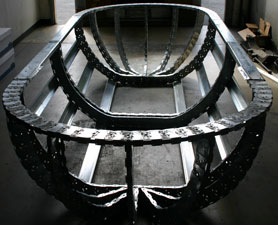
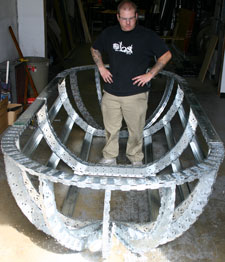
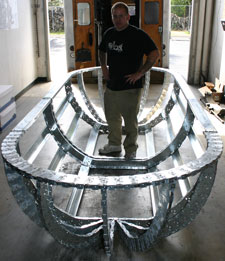
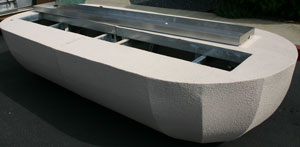
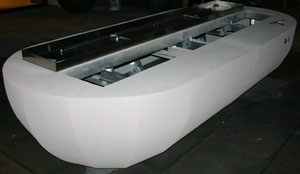
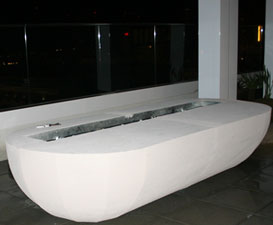
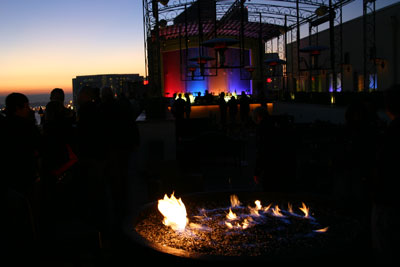
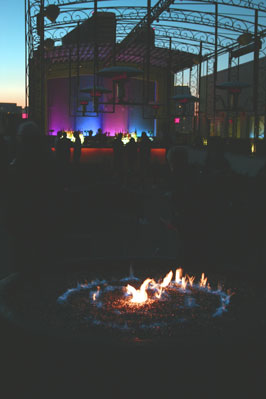
The first project we are working on is the Maryland Hotel (Ivy Hotel now) Roof Top Fire Pit in downtown San Diego, California on the 7th floor roof top! www.IvyHotel.com
It measures 60" across, 30" tall and 144" long!
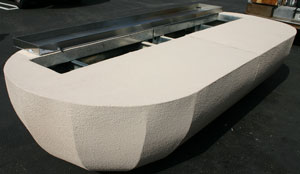
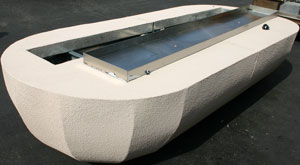
The fire table/ fire pit will and a 5' x 12' surface top in smooth concrete with a 16" x 120" stainless steel fire tray of to one side. We will post pictures as the project grows on.
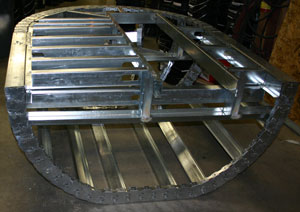
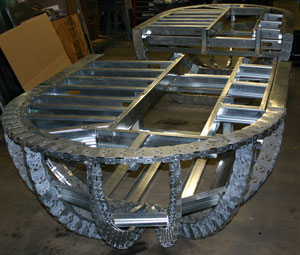
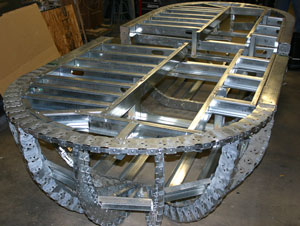
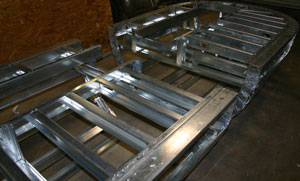
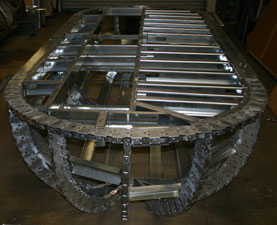
Te fire pit is constructed with a new flexible track and about 3,000 screws, 240' of galvanized channel, 450 welds, 600 lbs of GFRC/ Wonder Board and coated in smooth texture concrete.
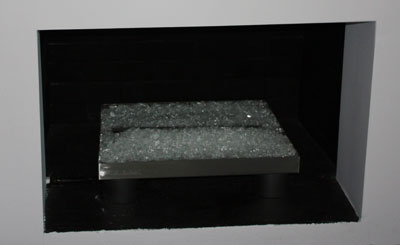
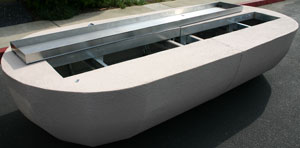
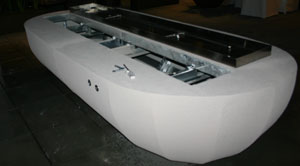
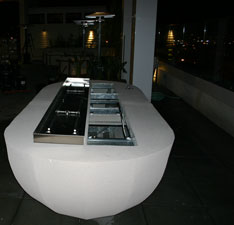
This was just before delivery, dry fit.
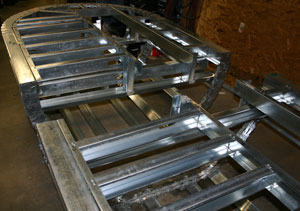
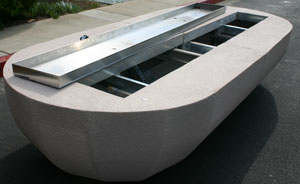
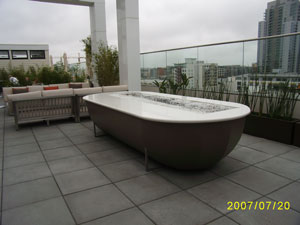
Once on the roof top the two halves were attached and the pan was installed
There were two burners and two controls installed
The glass is going in after the position of the fire table was adjusted. Pictures will be here soon!
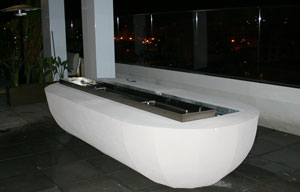
If you look at the walls of the roof top you can see most of San Diego.
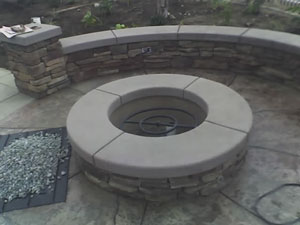
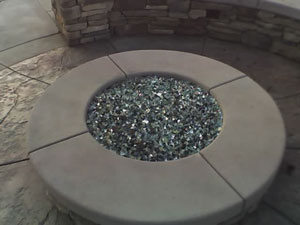
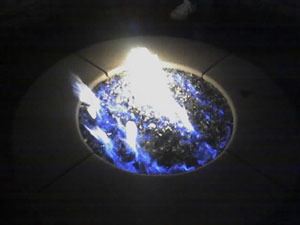
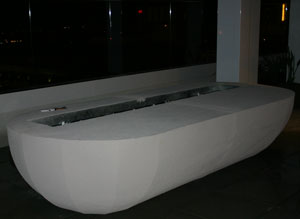
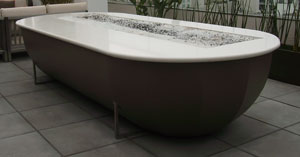
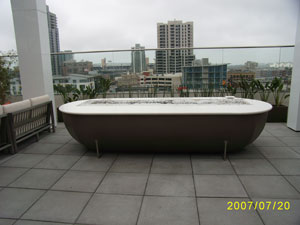
The table now has had a different coat of colored concrete applied and a granite top. The glass that is installed is Starfire Base Glass. The Hotel plumber was not very careful as he mixed the lava with the glass and now it looks like salt and pepper. We will be taking a trip to San Diego to fix this mixing issue because we would like to post finished pictures of the fire table burning at night time.
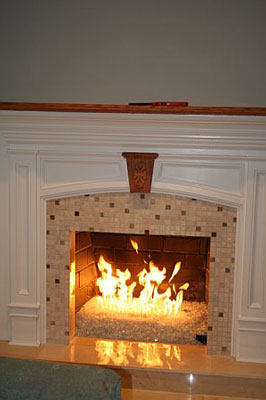
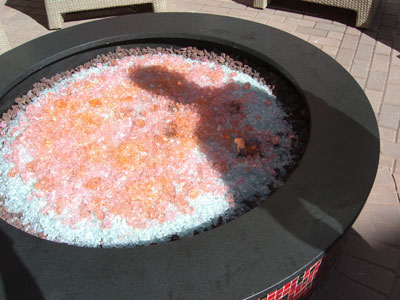
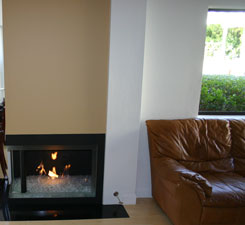
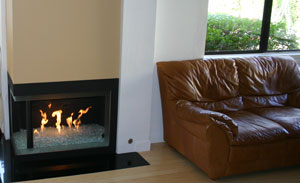
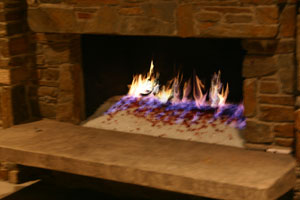
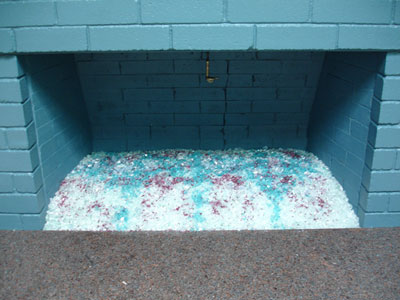
The fireplace below was on the outside wall of the fireplace above. We also had a Starfire Base Glass with Red Toppers and Red Orange Toppings, Scarlett Toppers, Copper Ruby Red Toppers. This fireplace was filled 4" to save on the cost of the base glass. If anyone ever tries to tell you different, well tell them *#@!+$% their wrong! This fireplace was also 54" across the front as well.
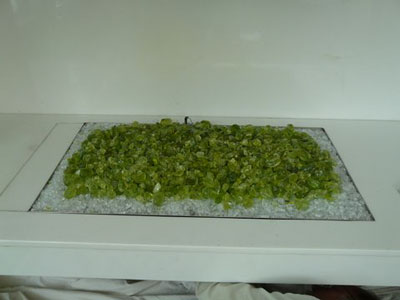
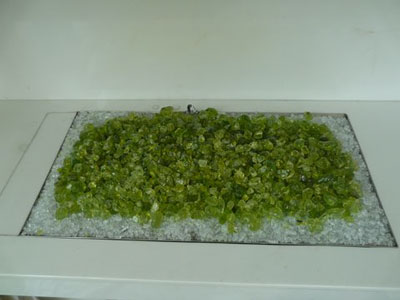
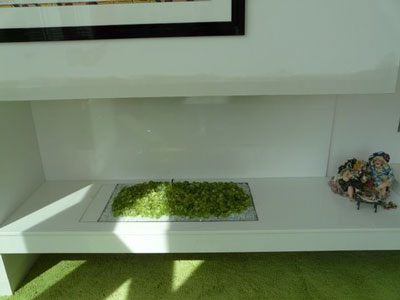
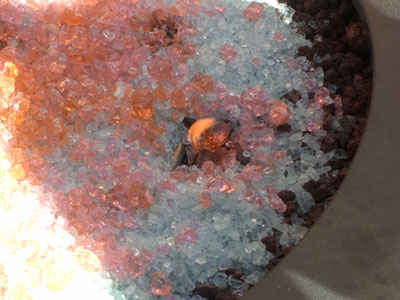
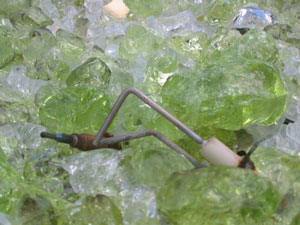
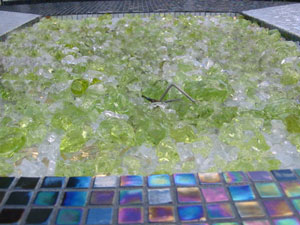
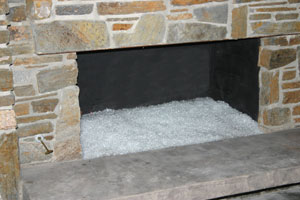
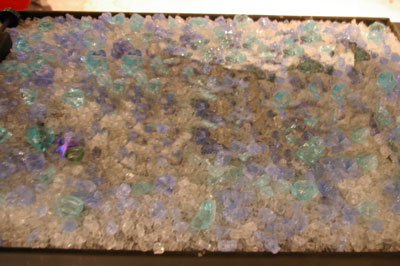
The fire pit below has a Starfire Base Glass with Ice Ice Ice Topper on top. This is a concrete molded fire pit at the same home as above in Pasadena, California. Later there was 30 lbs of Red Topper added and maybe we can get more pictures.
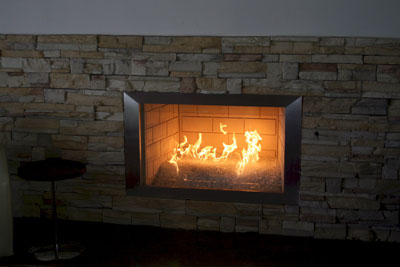
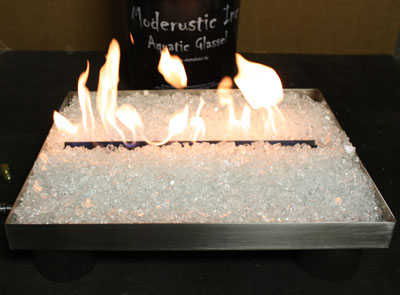
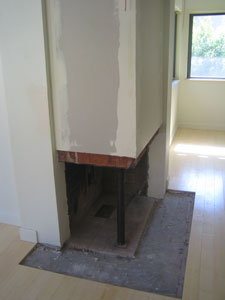
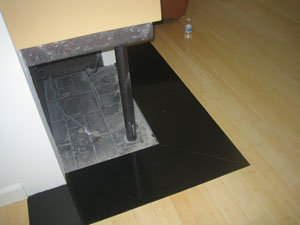
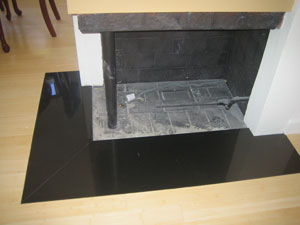
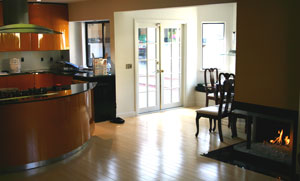
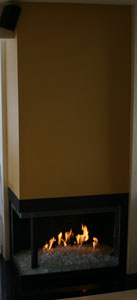
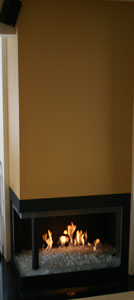
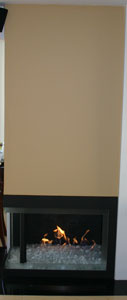
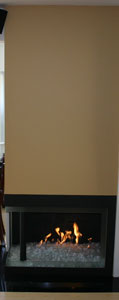
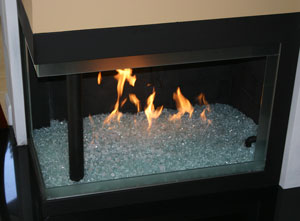
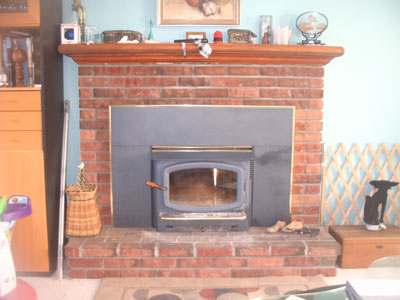
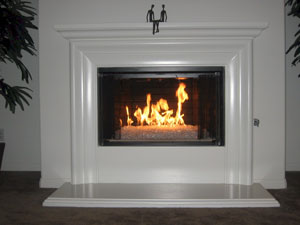
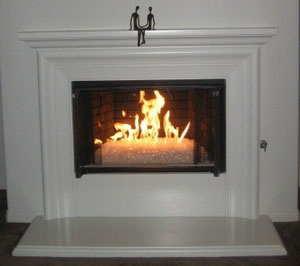
The fireplace below is s typical simple install. Paint, glass, fire and you are done. This is all Starfire Base Glass over an 18 18 burner and 1 can of paint, black. This is how simple it really is!
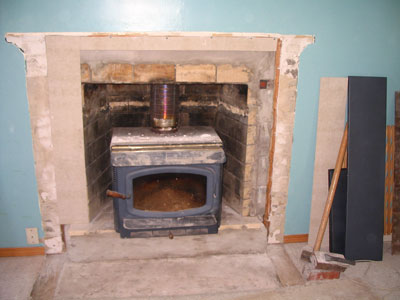
I finally managed to finish the fireplace. We have decided to place a 2" piece of metal in front (which hasn't been done yet), though, to keep the glass off the ledge. We thought it would be deep enough, but that didn't quite work.
To enable me to keep the center area smooth, we had to place the burner on top of the wall pipe, which created a rather high burner placement. This ended up creating a bit of a problem because I had a steep slope to the hearth. This is why I need to add the metal strip in front--so the glass doesn't roll down and come out of the fireplace. We had decided to not have a glass door on it, although if we find something we really like, that could change.
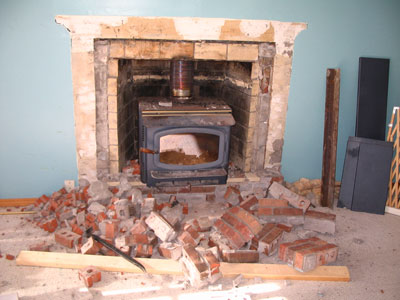
The pics might come in 2-3 e-mails, but I'll describe them here. The first few pics are duplicates of ones I already sent you.
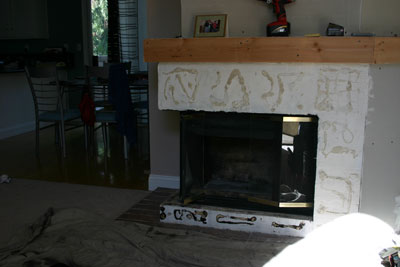
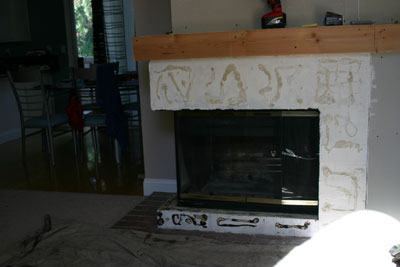
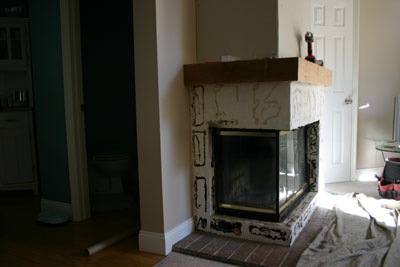
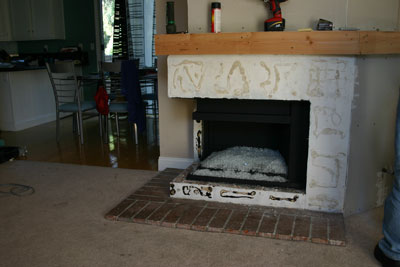
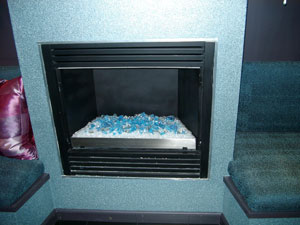
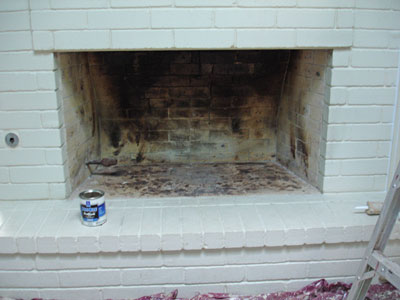
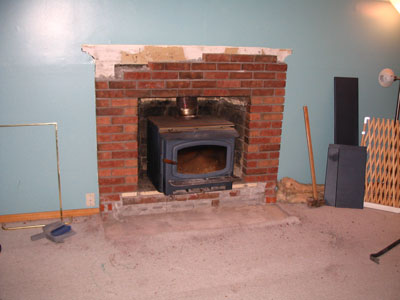
1. Original fireplace, emptied out.
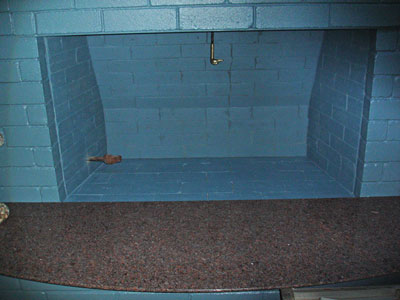
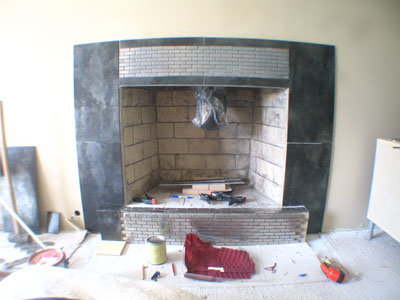
2-3. After painting with the dark blue from the chart you guys gave us. The wall was painted to match, although, I'm not sure I really like it. I'm trying to reserve judgement until I see it for awhile.
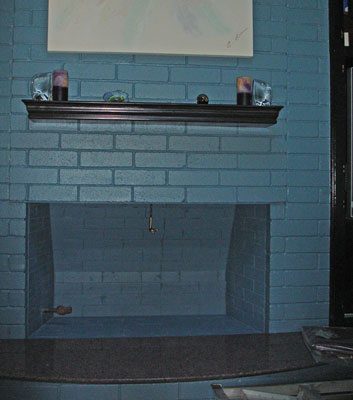
The damper handle is a brass duck head which wasn't even noticeable when it was all black.
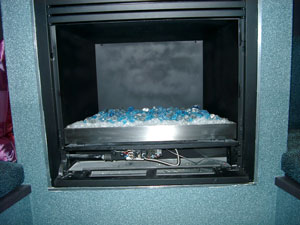
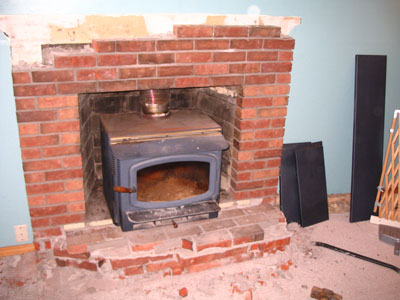
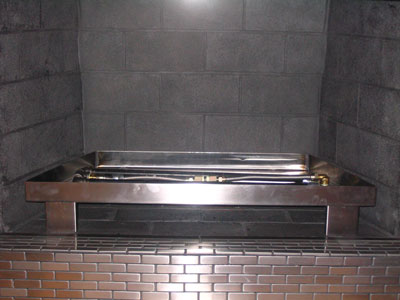
4-5.New burner in place. This created more problems than expected due to the wall pipe being higher than most. We ended up using regular lava rock, since we couldn't find the smaller rocks. Then we added small pea gravel to fill in gaps around the lava rock. After the burner was finally level, we added the sand.
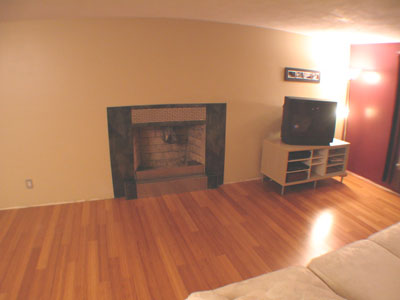
We're still working on the right side of this wall which has cabinets holding the TV and storage. Once the entire wall is finished, I'll send you one final pic of the entire wall. Not sure how soon that will happen, so don't wait for it, if you want to post these pics on your website.
I want to thank you for all your help. Your store was great to visit, so we could pick our glass out in person. Your staff was very helpful and we had a great time making our final color choices. I'll will definitely recommend you to others.
The pictures below are of the fire pit on the roof top of the Marriott in downtown San Diego in the Gas Lamp District on the 24th floor, very cool view if your ever there. The 2 half round 24" x 48" stainless steel rings were made custom for this fire pit. The glass that was used was a 50/50 mix of Starfire Base Glass and Black Base Glass. Very nice effect along with the view.
The half round burners below were installed at the Marriott "Gas Lamp" San Diego, California in a 72" Fire pit. We will post pictures of the finished project when we get the pictures sent to us. These were 24" x 48" stainless steel half round burners.
The pictures below are from Iggy in New York. He sent me a picture of his fireplace and asked me what we can do to help him. Well sit down and watch. A new pan, hood, surround, tile and Starfire Base Glass! Nice insert, not! Just like "Nice Logs", not!
below is a template for the stainless steel pan
Below we added a pan
Below we added a vent which was taken out years ago.
Above you can see the the key valve and below you don't see it. Because we made a removable panel!
There you have it in Rochester New York, Iggy it looks great.
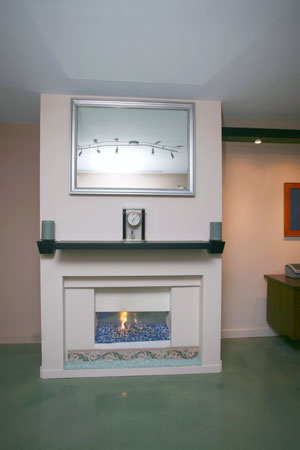
The fireplace below is a direct vent self installation with a Starfire Base Glass and Hyacinth Topper. There are a few fireplace companies who say this can't be done, really! So I guess this didn't really didn't happen, did it?
Above you see all the components that make a direct vent work
and below you see the finished product. This was completed by Teresa Leets, an attorney in Los Angeles. So much for those fireplace guys.
The fireplace below has Starfire Base Glass installed. Actually this is the fireplace of my Farmers Insurance agent. Nice job Adrian!
You can leave the doors on or remove them. If you remove them you should hang on to them as you may want them back one day.
This is where the snowman starts yelling " I'm Melting!"
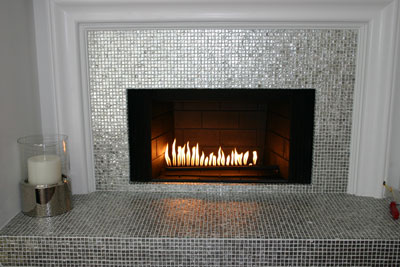
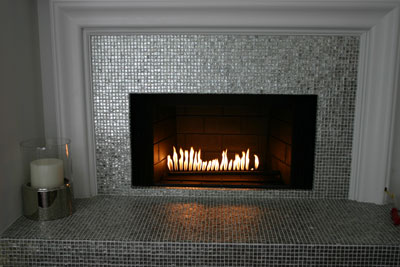
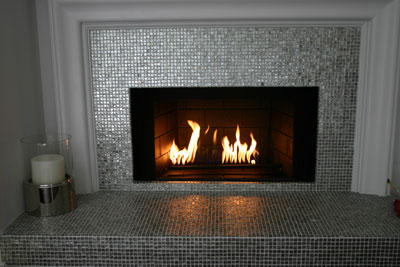
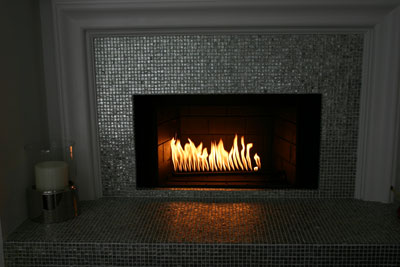
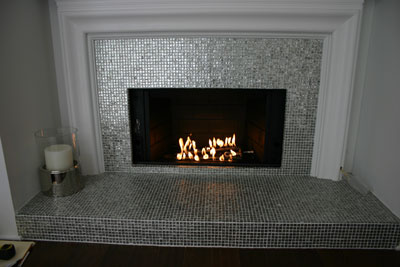
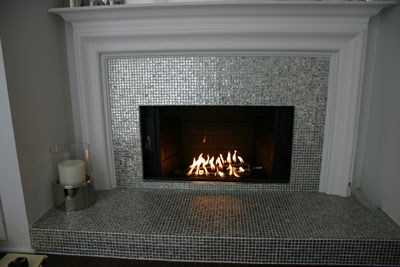
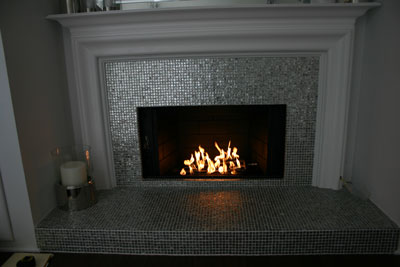
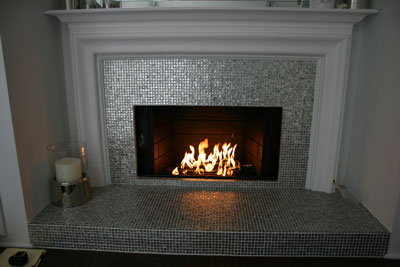
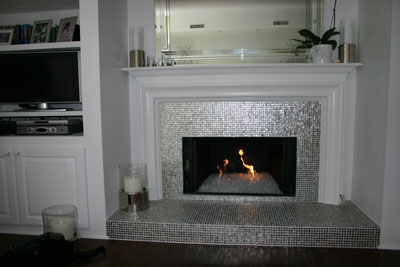
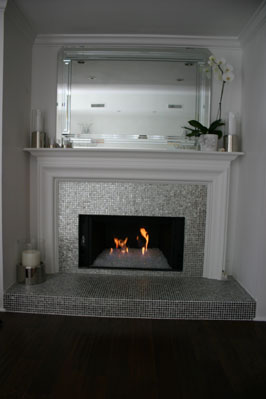
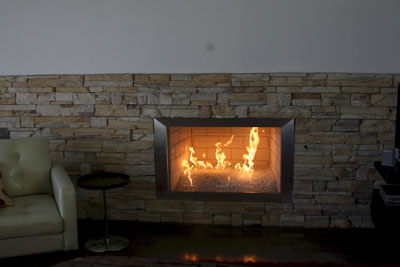
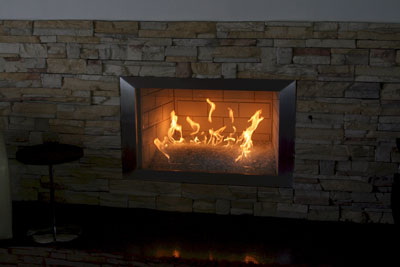
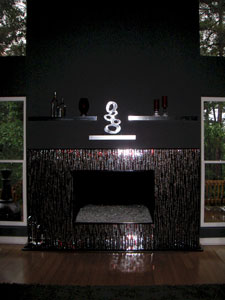
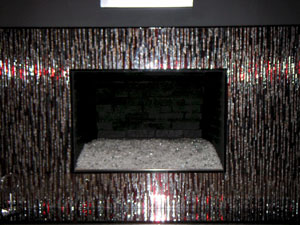
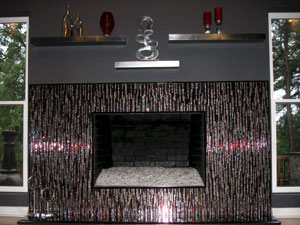
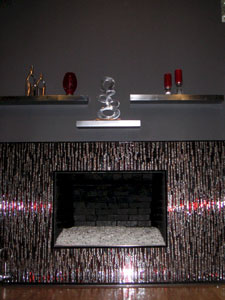
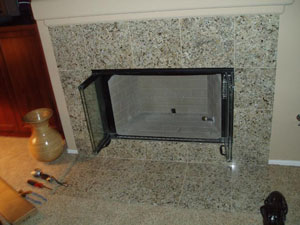
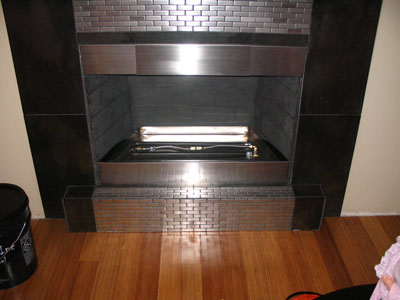
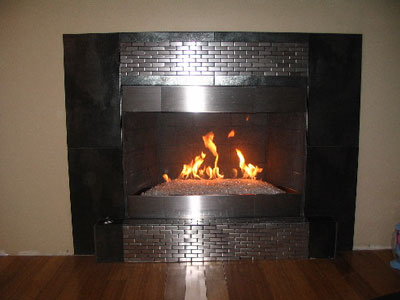
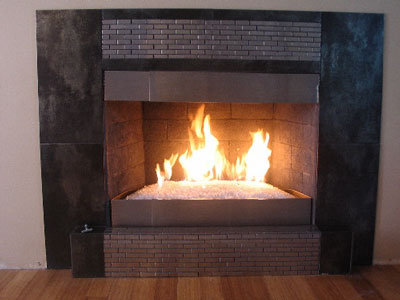
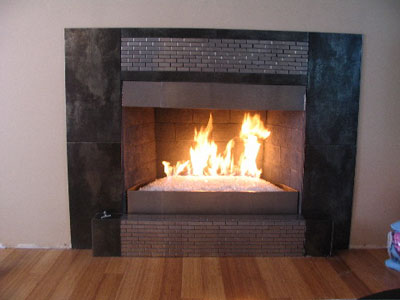
The fireplace below is in Los Angeles California. It was remodeled in a silver and clear ceramic tile which made it look very modern and contemporary.
This was the old burner, one long ribbon style burner
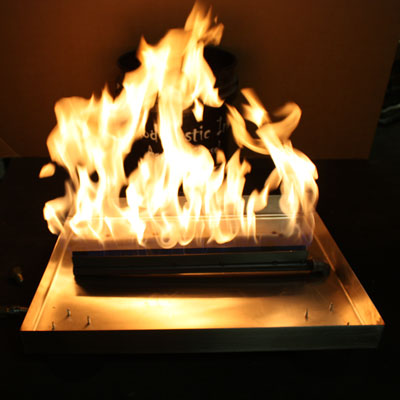
Above you see this ribbon burner on a high flame, but it is only one row of flames.
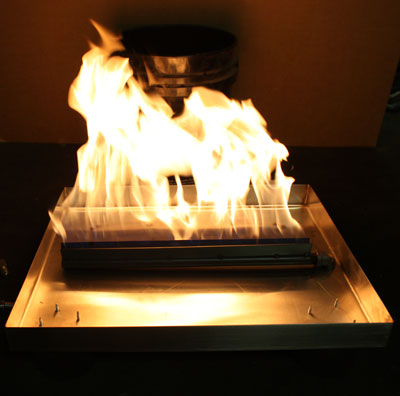
Below we installed a double burner which will give you 4 rows of flames. It's hard to see in the day light but in the evening it is very different.
We added a Starfire Base Glass to the fireplace and here you have it. The customer added a few colors later along with our Ice Ice Ice Topper. We also added two metal shields on each side of the fireplace on the inside left and right to cover the vent holes from view.
The fireplace below is a before and after with Starfire Base Glass installed behind the corner surround. There will be more pictures when the back of the fireplace gets it's finishing touches.
As you can see it really needs a face lift
Now with the doors gone and the back cleaned and painted
After the surround was installed we finished topping the Starfire Base Glass off up to the top of the metal of the surround. This is another reason we use fillers, to keep the costs down.
We will post pictures of the fireplace when it is completely finished with the granite back.
The fireplace below was finished with a standoff surround. We build brackets to support the surround 5 inches away from the fireplace. This was installed by Bruce Rubenstein in a Hollywood night club. If they ever send us pictures we will post them along with these.
In the bottom of the pictures you can see our brackets which supported the bottom and sides. The surrounds are brushed for a modern contemporary look.
The fireplace below was installed by the customer (Kim Clark) with a remote control, propane burner manufactured by us and topped with Starfire Base Glass. The fireplace was transformed form an ordinary to work of art, nice job!
The picture below has the burner being tested
This is the remote control on the lower right with the pilot light assembly
Below is an RV propane fire pit which a customer build a table to drop it in to. We also supplied a quick disconnect for the propane tank. The glass that was used was Starfire Base Glass.
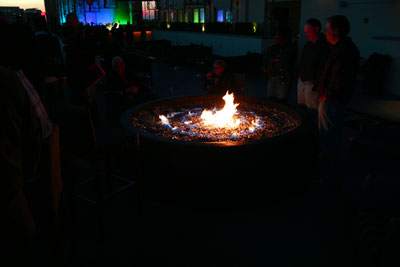
It just looked sooo good, we had to post all of the pictures!
Amazing flame work by night and below simple and nice to see by day.
This surround has 4" sides and 3" top and bottom. Every fireplace is a little bit different as we recommend a cardboard template so you can get a preview of what it will look like before hand.
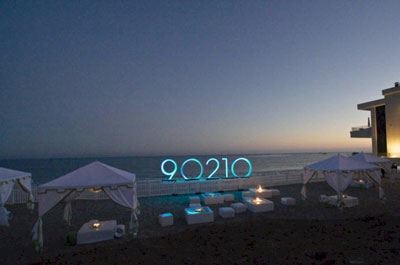
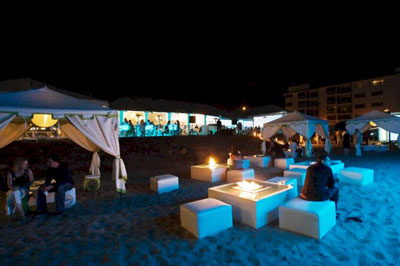
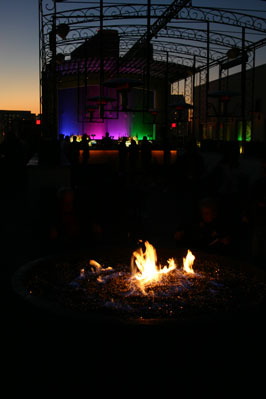
The pictures below are for the opening "90210" Malibu party on the night of the series premier. Click on the link to see the full story and write up from BizBash .
The fire pit below is in Glendale, Arizona at the Renaissance Hotel. We installed an electronic ignition with a 30" stainless steel ring. The glass use was a Clear Base Glass with Starfire Base Glass on top and topped with 42 lbs of Apricot Topper. These pictures were taken with the edges still exposed which were covered by a layer of Starfire Base Glass.
The fireplace below is the fireplace of "Bill" and he wasn't sure where the burners went. So he put them on top and as you can see he should of put them under the glass.
Bill ordered a rectangular pan and it would of looked better if we would of built a trapezoid shape pan to contour the fireplace. Bill did drop his burners under the glass. This was a propane ventless conversion. Looks much better than those log thingies! Hopefully Bill will send us pictures of it finished and burning, maybe. We used Starfire Base Glass in the pan.
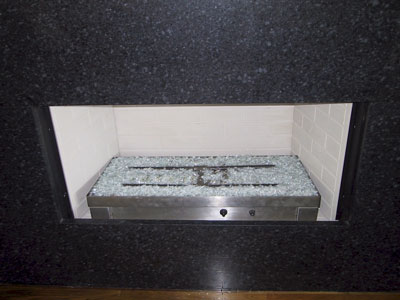
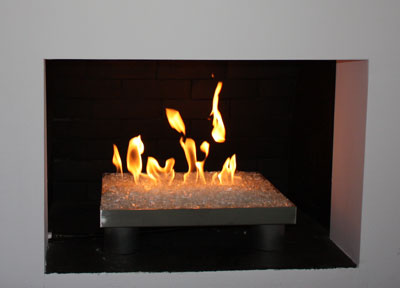
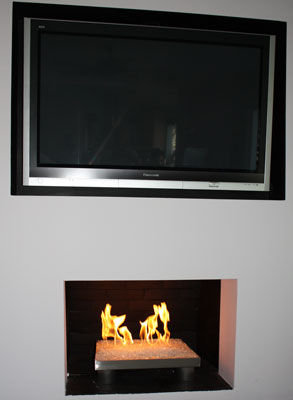
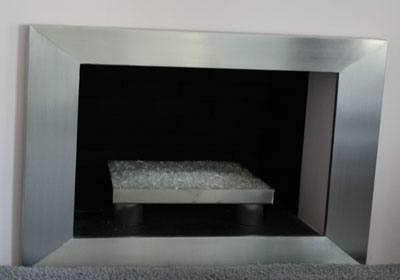
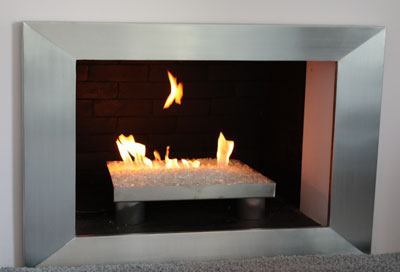
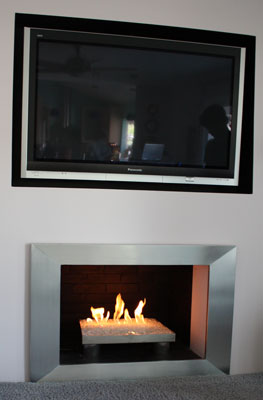
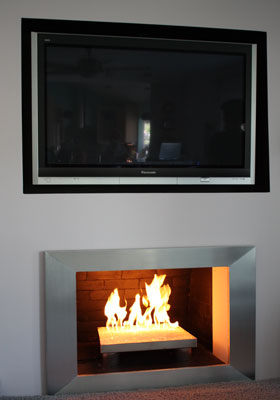
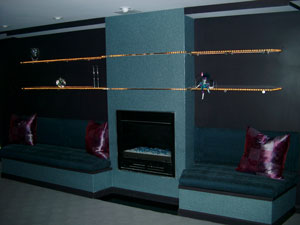
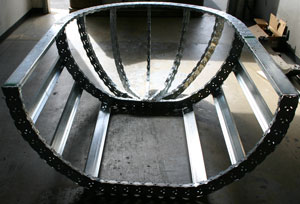
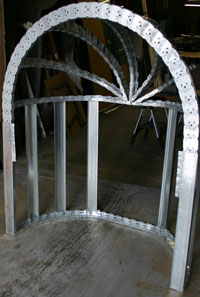
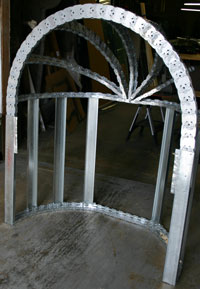
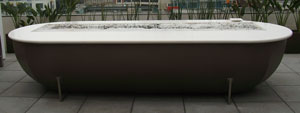
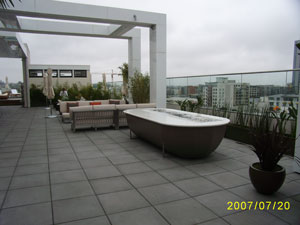
The fireplace below has a stainless steel pan installed with a ribbon burner. The front legs of the pan are 4" round brushed legs with our standard legs in the back. Here you can see the different flame patterns of our ribbon burner. We then installed a brushed aluminum surround.
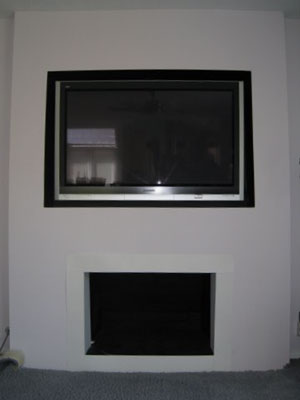
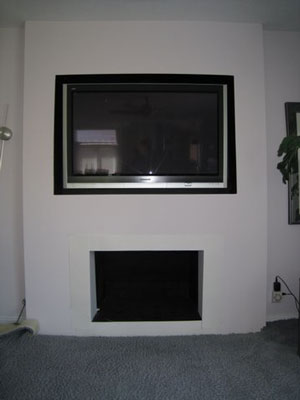
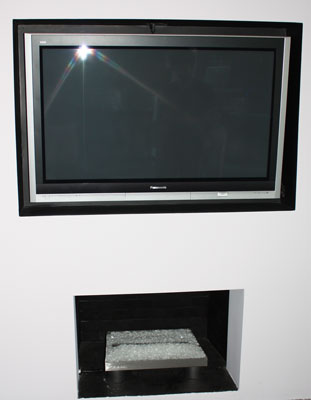
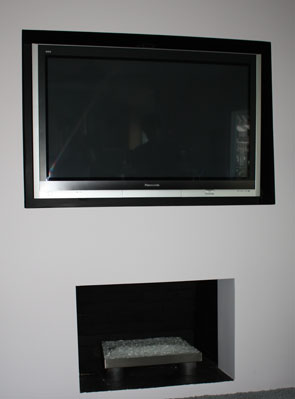
The first 3 pictures are of the fireplace before we started on it. The wall was built out 8" for the flat screen above the fireplace.
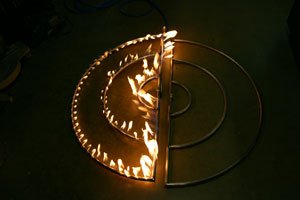
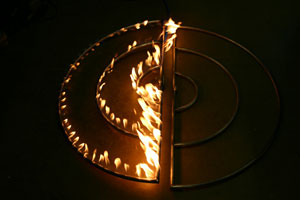
The next 4 pictures are of our ribbon burner after fabrication.
Now we install the surround to finish this fireplace off! What we do is very simple, we listen to the customers needs and build from their imagination.


 .
.